Build a Private Cloud at Hetzner
This tutorial shows you how to install Origo OS on a single server at the German vendor Hetzner.
Hetzner let’s you rent used enterprise server hardware installed in their data centers at low rates and acces it over the Internet.
Origo OS let’s you run and manage virtuel servers, services, Kubernetes clusters and more on enterprise hardware.
Origo OS is free for personal use and requires a commercial license for commercial use if you run it on more that 8 physical cores. Read more about licensing Origo OS.
Objectives
- Provision a dedicated, physical server at Hetzner and Install Origo OS remotely over the Internet
Prerequisites
- An account with Hetzner
Recommendations
- An account with Origo
- An account with Origo gives you access to a registry of curated services you can download and install in your private cloud.
- You can however install Origo OS and use it as a a bare-bones VMware replacement without an account. You can still install regular Ubuntu servers, upload your own images and install servers from ISO images.
Step 1. Order the Server
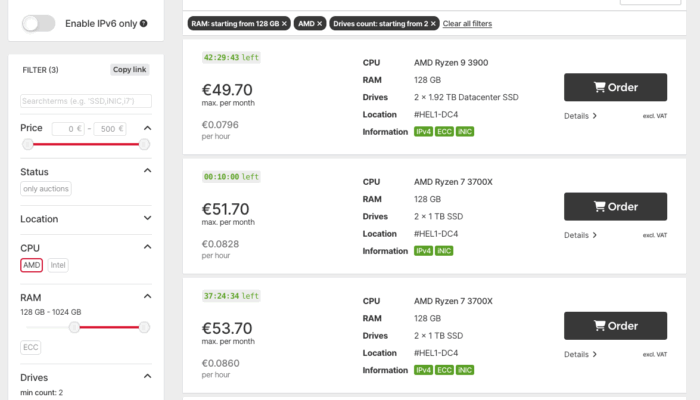
We ordered a server from Hetzner’s auction with:
- 12 CPU cores
- 128 GB RAM
- Price: ~€70/month
During the order, we added our public SSH key, so we could log in easily afterwards.
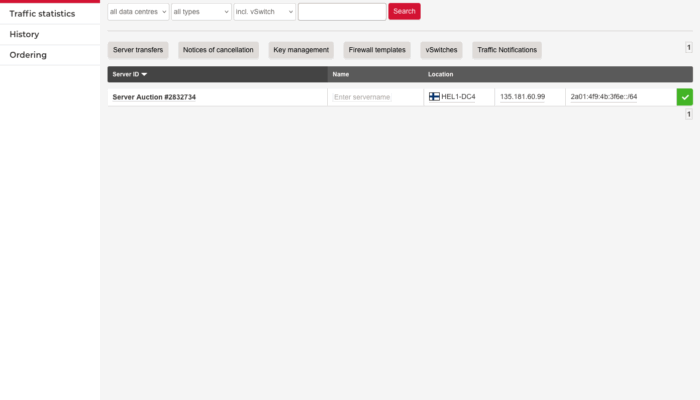
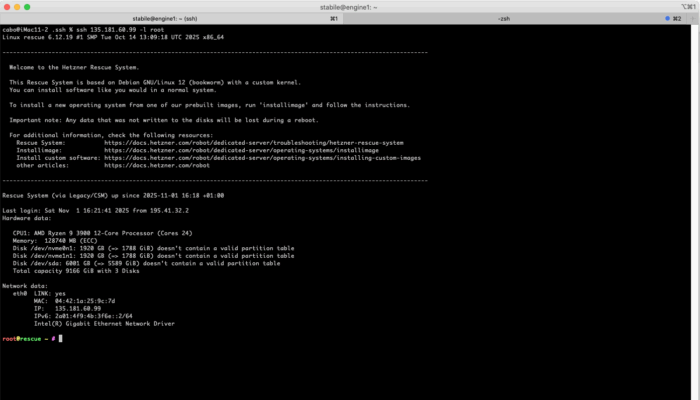
About 15 minutes the server was available and running Hetzner’s rescue system (a temporary Debian environment).
Step 2. Install Ubuntu
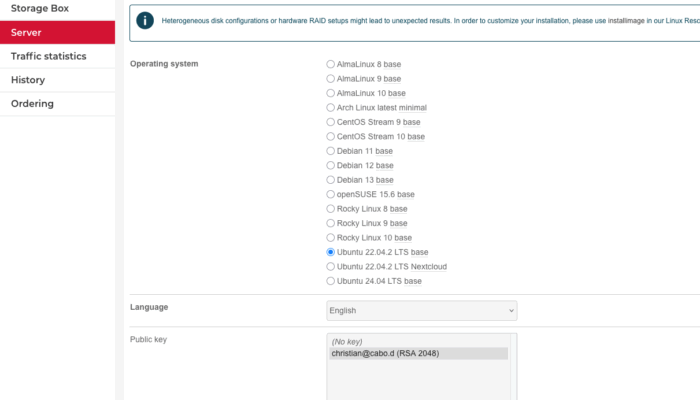
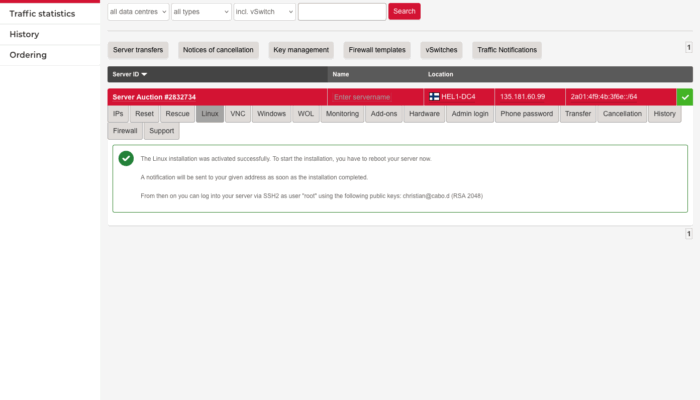
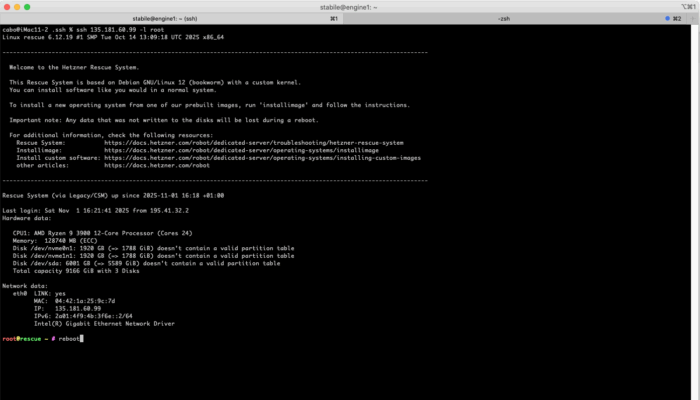
In the Hetzner control panel, we then chose to install Ubuntu 22.04 and rebooted the server from the ssh terminal
Step 3. Order Public IP Addresses
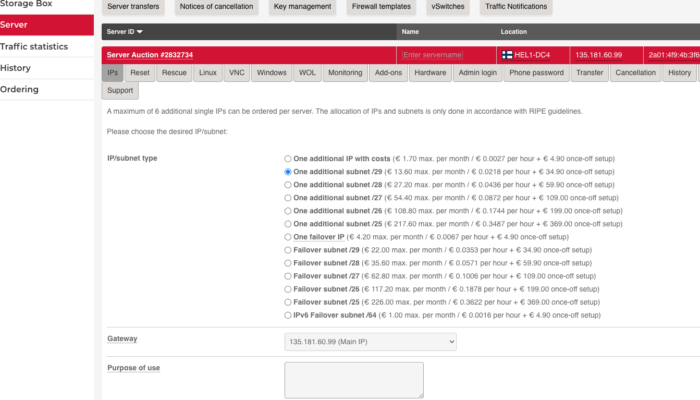
To make services accessible from the internet, order additional IP addresses.
We ordered a /29 subnet (8 IPv4 addresses).
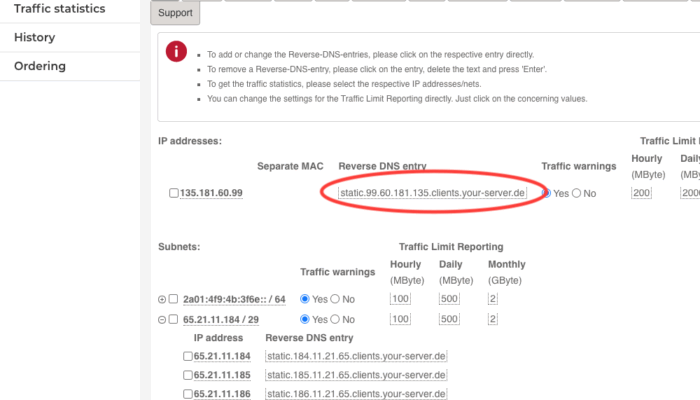
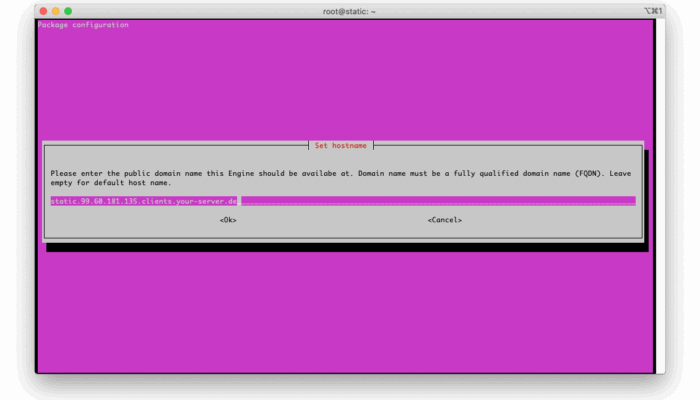
These were ready within a few minutes. From your server’s IPs tab, note down the domain name Hetzner has assigned to your server.
Step 4. Install Origo OS
If you don’t already have an account on origo.io, create one first.
Now ssh to your server as root again. Because the installation takes a long time, start by installing screen:
apt install screenThen start the installation inside a screen session:
screen curl --silent https://apt.origo.io/archives/origo.key | sudo apt-key add - && sudo bash -c 'echo "deb [arch=amd64] http://apt.origo.io/archives jammy stabile" > "/etc/apt/sources.list.d/stabile.list"' && curl -o webmin-setup-repo.sh https://raw.githubusercontent.com/webmin/webmin/master/webmin-setup-repo.sh ; sudo echo y | sh webmin-setup-repo.sh && sudo apt update && sudo apt install stabileYou can leave the screen session running in the background by typing ctrl-a-d and return to it by typing “screen -dr” in a terminal.
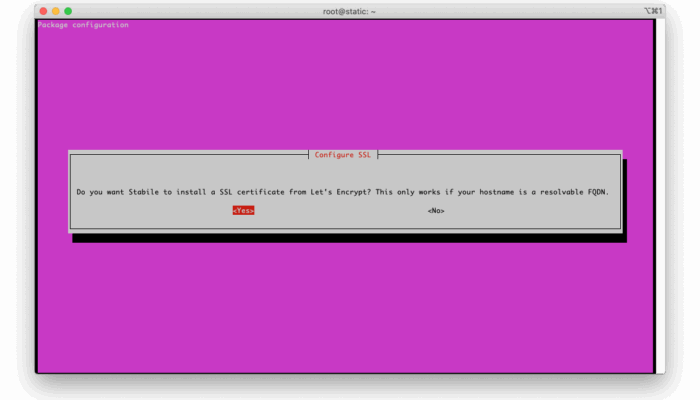
During installation, you will be asked:
- Whether to use a Let’s Encrypt certificate.
-
- You can say yes, and use the domain Hetzner assigned to your server, or say no, and live with the browser SSL warnings.
- To enter your Origo account email and set a password.
- Use the same email you registered on origo.io with.
- If you have not registered with Origo and do not want to use Origo services, enter any email address.
Step 5. Open the Origo Dashboard and configure Origo OS
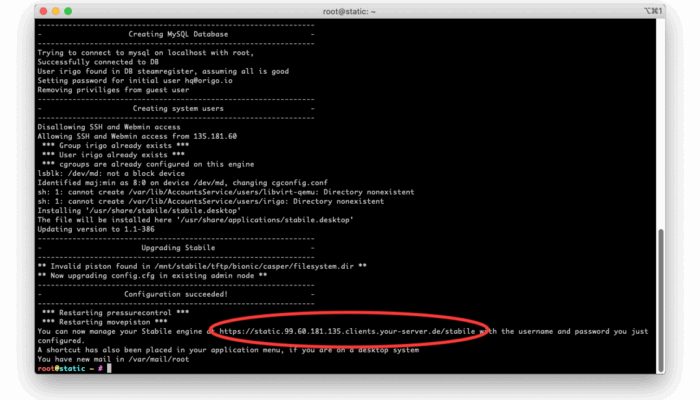
Go to:
https://<your-server-domain-or-ip>and log in with the credentials you configured above.
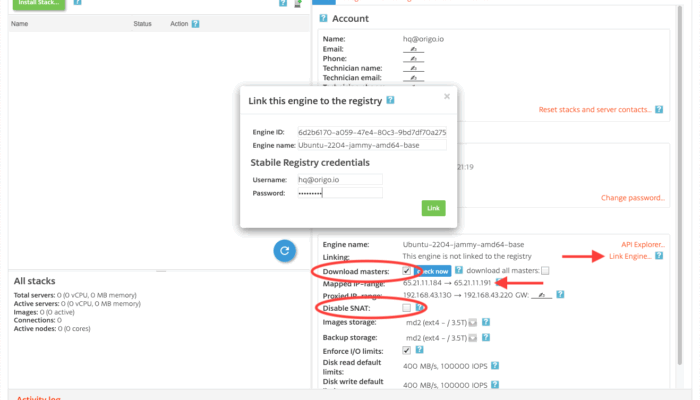
Then from the dashboard:
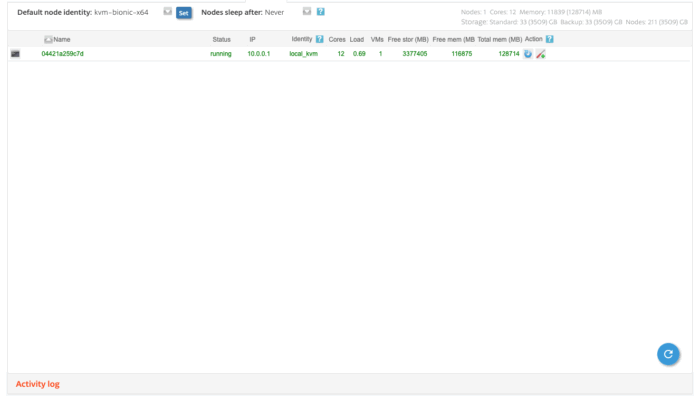
- Assign the new IP address range to Origo OS in the fields “Mapped IP-range”.
- Link the server to origo.io.
- Check “Download masters” to allow downloading additional service images.
- Make sure “Disable SNAT” is unchecked so services are reachable from the internet.
Please note that after installing Origo OS, ssh access from the Internet is locked down for security reasons. To allow ssh access from specific IP addresses, launch the web terminal and edit /etc/hosts.allow and /etc/ssh/sshd_config and add the ip addresses you want access from. Remember to restart the ssh server (systemctl restart ssh).
6. Install Services
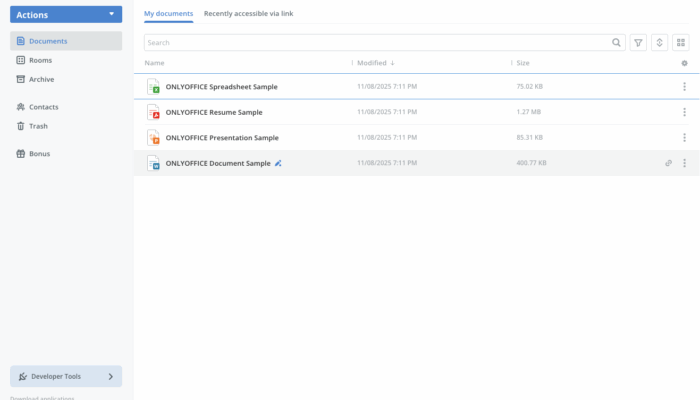
To install a service in your new private cloud, start with e.g. OnlyOffice Docspace to get a complete replacement for Microsoft Office and OneDrive:
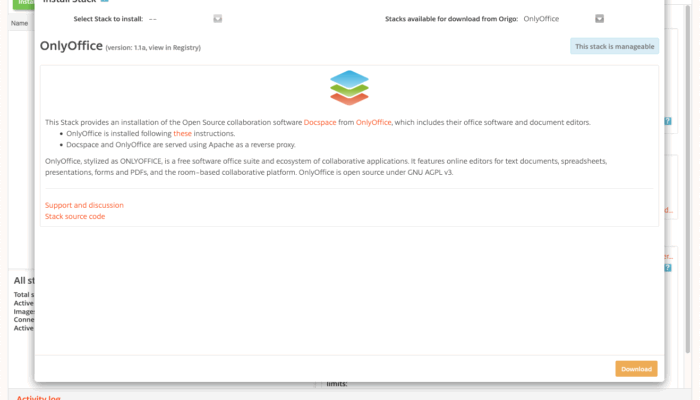
- Click “Install stack…”
- In the popup “Stacks available to download…” select the service you want to download and install
- Click Download
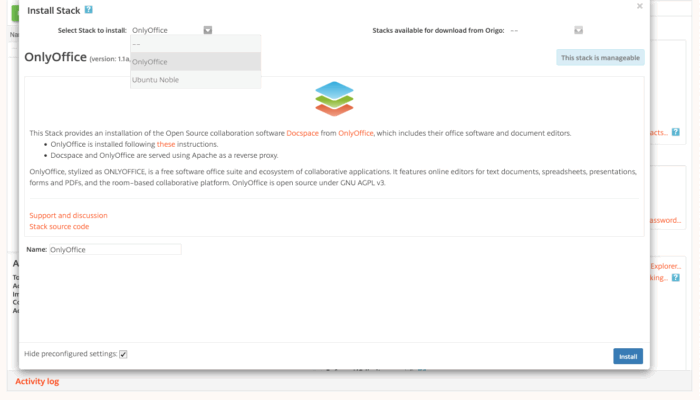
- After download completes, click Install stack… again
- In the popup “Select stack to install” select the stack you just downloaded
- Click Install
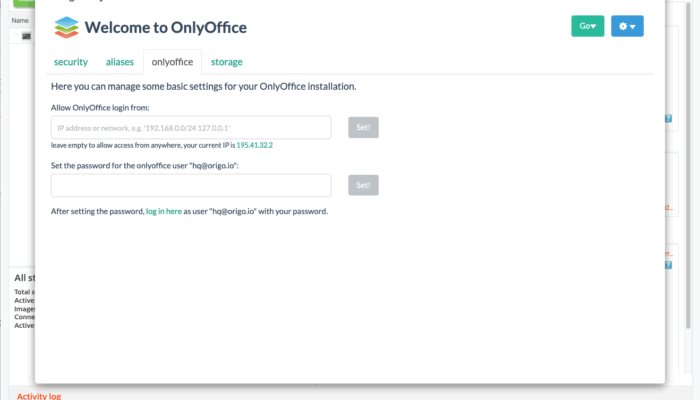
After a few minutes your new service is ready to use.
To install more services, like e.g. a Kubernetes cluster for your developers, repeat the procedure like described in this guide.
